

Digital Training Software
The Assistant Coach You Don’t Have to Hire
What's Digital Training Software?
From wearable technology to calendar planning software, there’s no shortage of tools you can use to help streamline your workflow. That said, you should only leverage those that will truly help make your life easier- not more complex. (Remember what Ed Lippie and Darcy Norman told you) If you’re new to training technology or you’re looking to expand your training to more athletes and teams, digital training software could tremendously help you achieve your goals- without having to hire more staff.
These tools allow coaches to create and deliver training plans directly to their athletes all from a Cloud-based platform. This means that every piece of training you create will be saved automatically, so you never have to worry about losing a training plan. Furthermore, most systems allow for some kind of athlete tracking, allowing you to evaluate the training your athletes complete everyday to plan future sessions. This has proven to save more than 10 hours of administrative work per week for coaches across teams and leagues.
-
What about my day is really holding me back from training my athletes?
-
Am I satisfied with the way I currently track athlete progress?
-
Is my staff communicating efficiently with regards to athlete progress?
-
How much time do I spend on data entry (test results, intake and wellness questionnaires, etc.)?
-
How much time do I spend creating training plans?
-
How much does it cost to print out training plans each week?
-
Am I communicating with my athletes well?
-
What about your workflow do you want to improve on most?

- How will your training be created and stored? You’ll want to make sure your workflow is not overrun by navigational inefficiencies. It’s great to be able to create one training day quickly, but if it takes you 20 minutes to find that day after you’ve delivered it to an athletes, it’s probably not going to be the ideal tool for you.
- Look for tools with templated training already in place. Even if you choose to build out every day of training yourself, these templates will help familiarize you with building systems quickly. You can see how the company best uses their own platform to get a clear understanding for how it can help you, too. Also- quality of templated content is a great indicator of the brand’s overall reach. If the template names are too broad or generic (think: ‘Cardio Day’ or ‘Strength Day’) this system may not be sufficient for your more complex level of training.
- Most digital training tools will come with some form of movement library. This section will be an important portal to evaluate during your demo or free trial. If it’s a tool you can’t create custom exercises with, be sure there’s a significant amount of exercises - with videos and cues- available for you and your athletes to leverage. Note: The best libraries will allow you to edit the name of the movements and add your own videos/ photos/ cues.
- Being able to quickly navigate across the platform will become a huge time saver as you get started on the software. Look for features like copy-paste that allow you to copy days, weeks, and even programs so you can quickly create new plans for all of your athletes.
- Athlete buy-in is huge. The easiest to use and least complex athlete interface will allow them to explore features quickly. While applications that allow athletes to monitor their progress overtime will encourage greater compliance and engagement.
- If you’re uncomfortable with the idea of having athletes or clients train on their own terms at first, look for products that offer an in-person feature. Technology's only as good as the use-case for it. If they don't offer a way for you to deliver training while in person with your athletes -it's likely not a great option for practitioners looking for training flexibility.
- No matter what platform or gadget you're evaluating, always remember to ask about their support options. Support/help centers with video and text resources, Weekly Webinars, one-on-one training sessions, engagement message and continuous contact with a member of the product's team will allow you to thrive, without added stress of figuring out this new workflow by yourself. Sure, technology is assumed to be all knowing, but a little human-interaction never hurt.


At Bridge, we are all athletes and coaches first. As athletes, our team has experienced everything from riding the pine on JV, to winning NCAA championships, to competing in the Olympic Games. As coaches, we have helped countless athletes reach their full potential, winning everything from age group section championships to Olympic Gold Medals.
Related Posts
2022 NSCA Coaches Conference
The BridgeAthletic team attended the 2022 NSCA Coaches Conference in San Antonio, Texas January 6-8...
2021 Fusion Sport Conference
The BridgeAthletic team attended the 2021 Fusion Sport Summit - North America at the UFC...
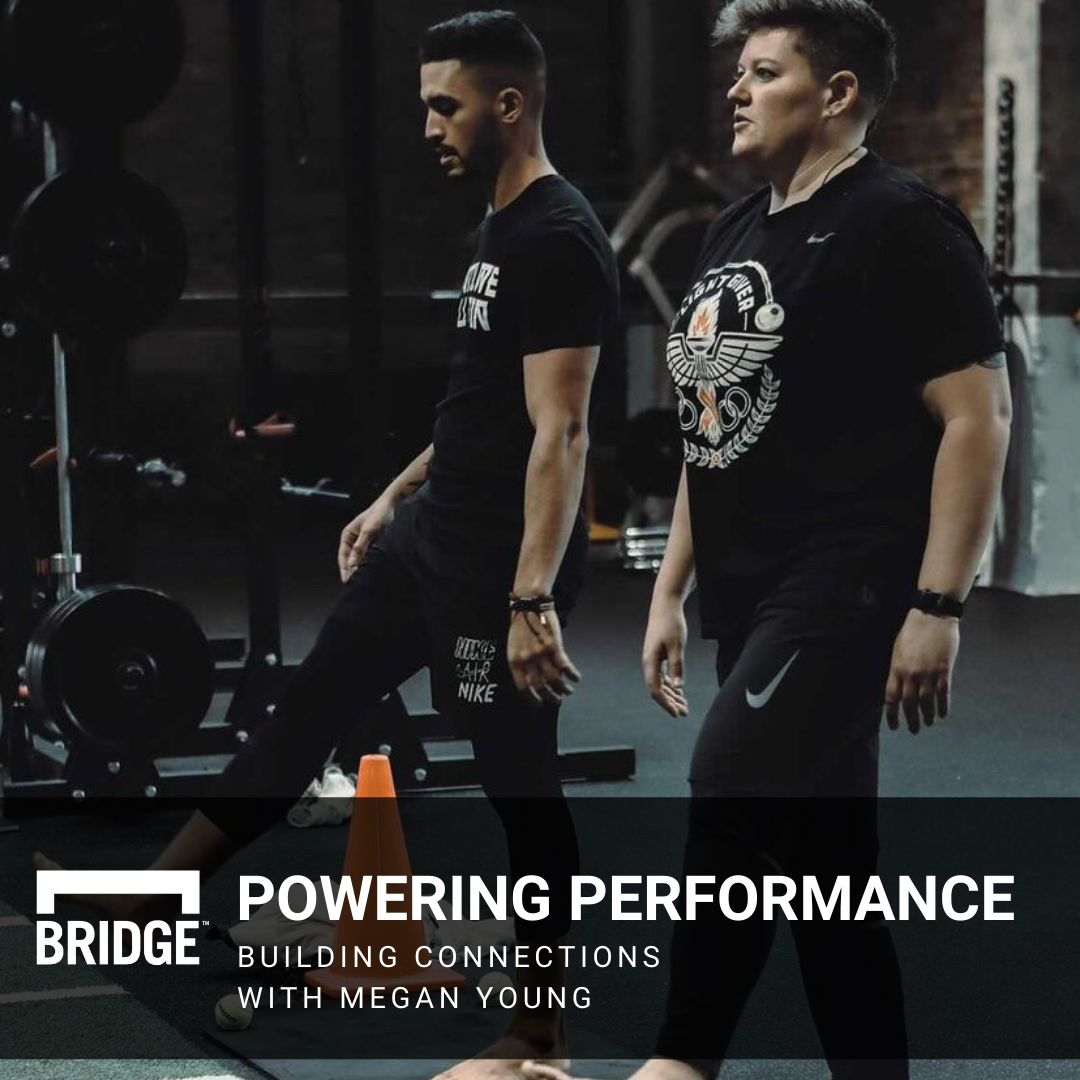
Building Connections with Megan Young
In this episode of Powering Performance, we are joined by Megan Young, formerly the High...
